“There’s nothing more romantic than Italian food.” ~ Elisha Cuthbert

One of our favorite dishes we had on our honeymoon trip to Italy was Saltimbocca.  Saltimbocca means “jump in your mouth” and that it does! I knew it would be a meal that I must try back at home and I finally got around to it.

Saltimbocca is a very popular Italian dish that is traditionally made with veal but can be made with chicken (which is what I had on hand).

Chicken Saltimbocca

4 (4-ounce) chicken cutlets
1/8 teaspoon salt
12 fresh sage leaves
2 ounces very thinly sliced prosciutto, cut into 8 thin strips
4 teaspoons extra-virgin olive oil, divided
1/3 cup chicken broth
1/4 cup fresh lemon juice
1 teaspoon cornstarch

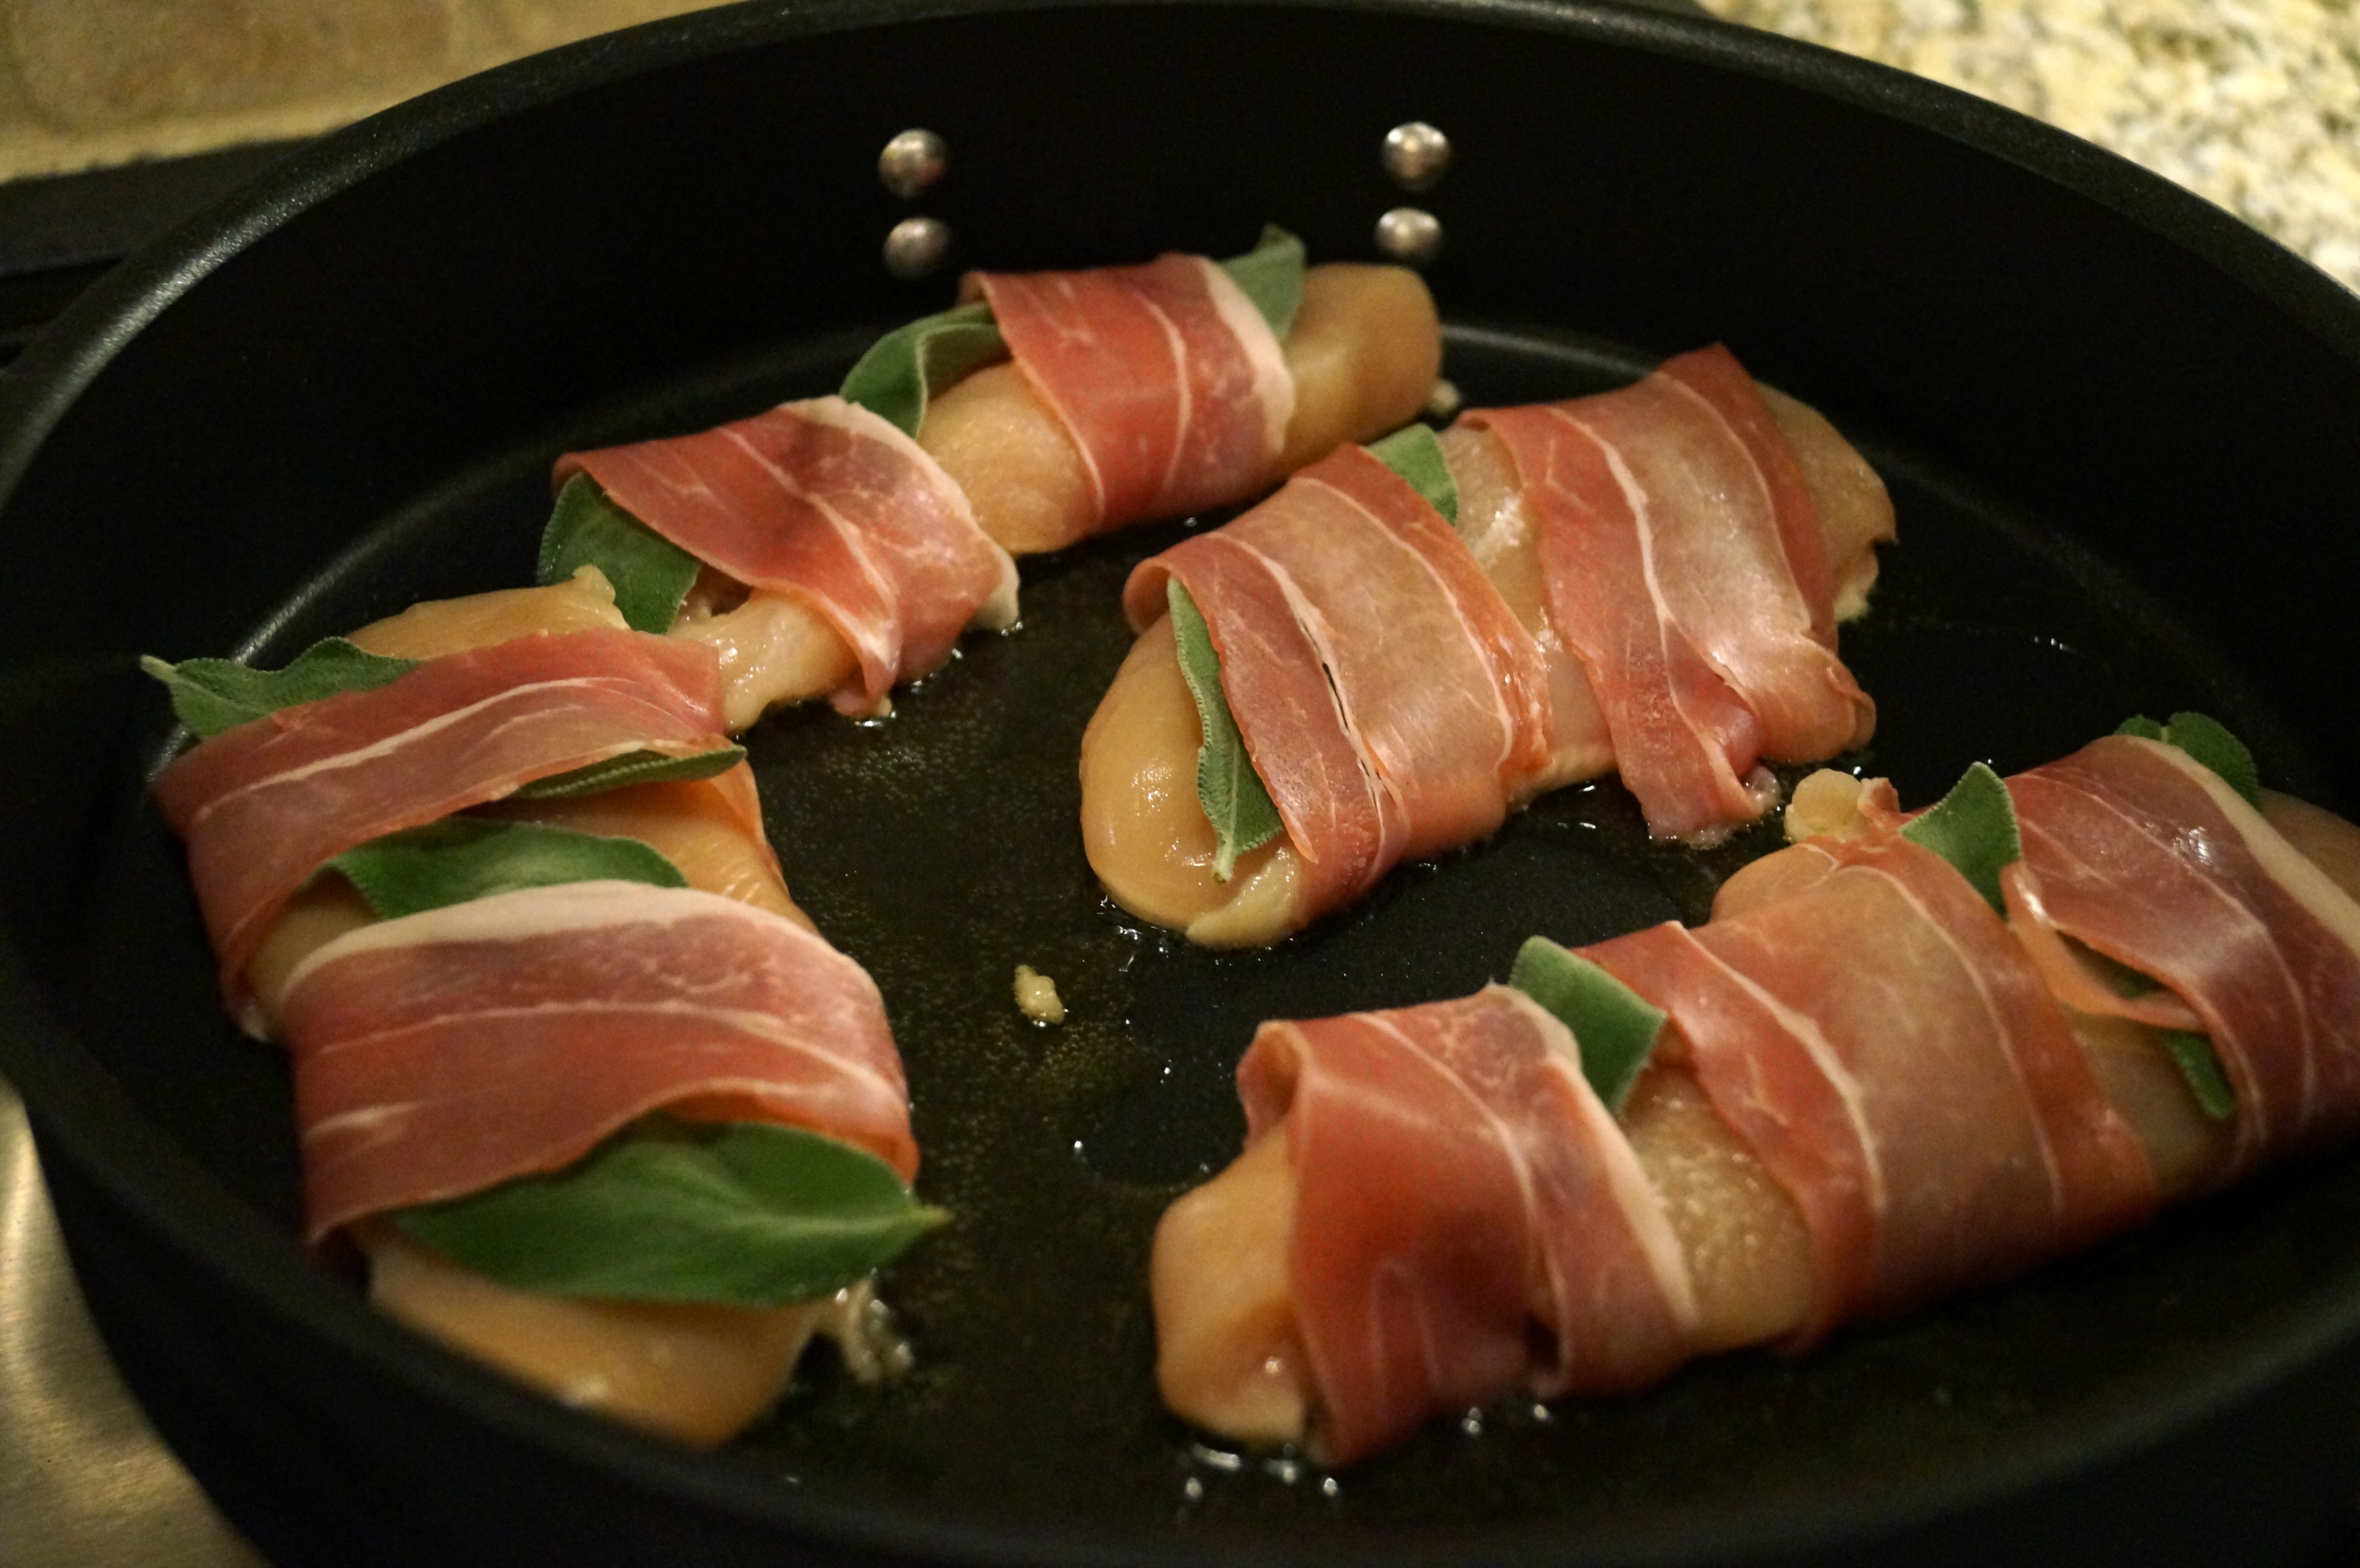
Sprinkle the chicken evenly with salt. Place 3 sage leaves on each cutlet.

top with sage

Wrap 2 prosciutto slices around each cutlet, securing sage leaves in place.

wrap with prosciutto

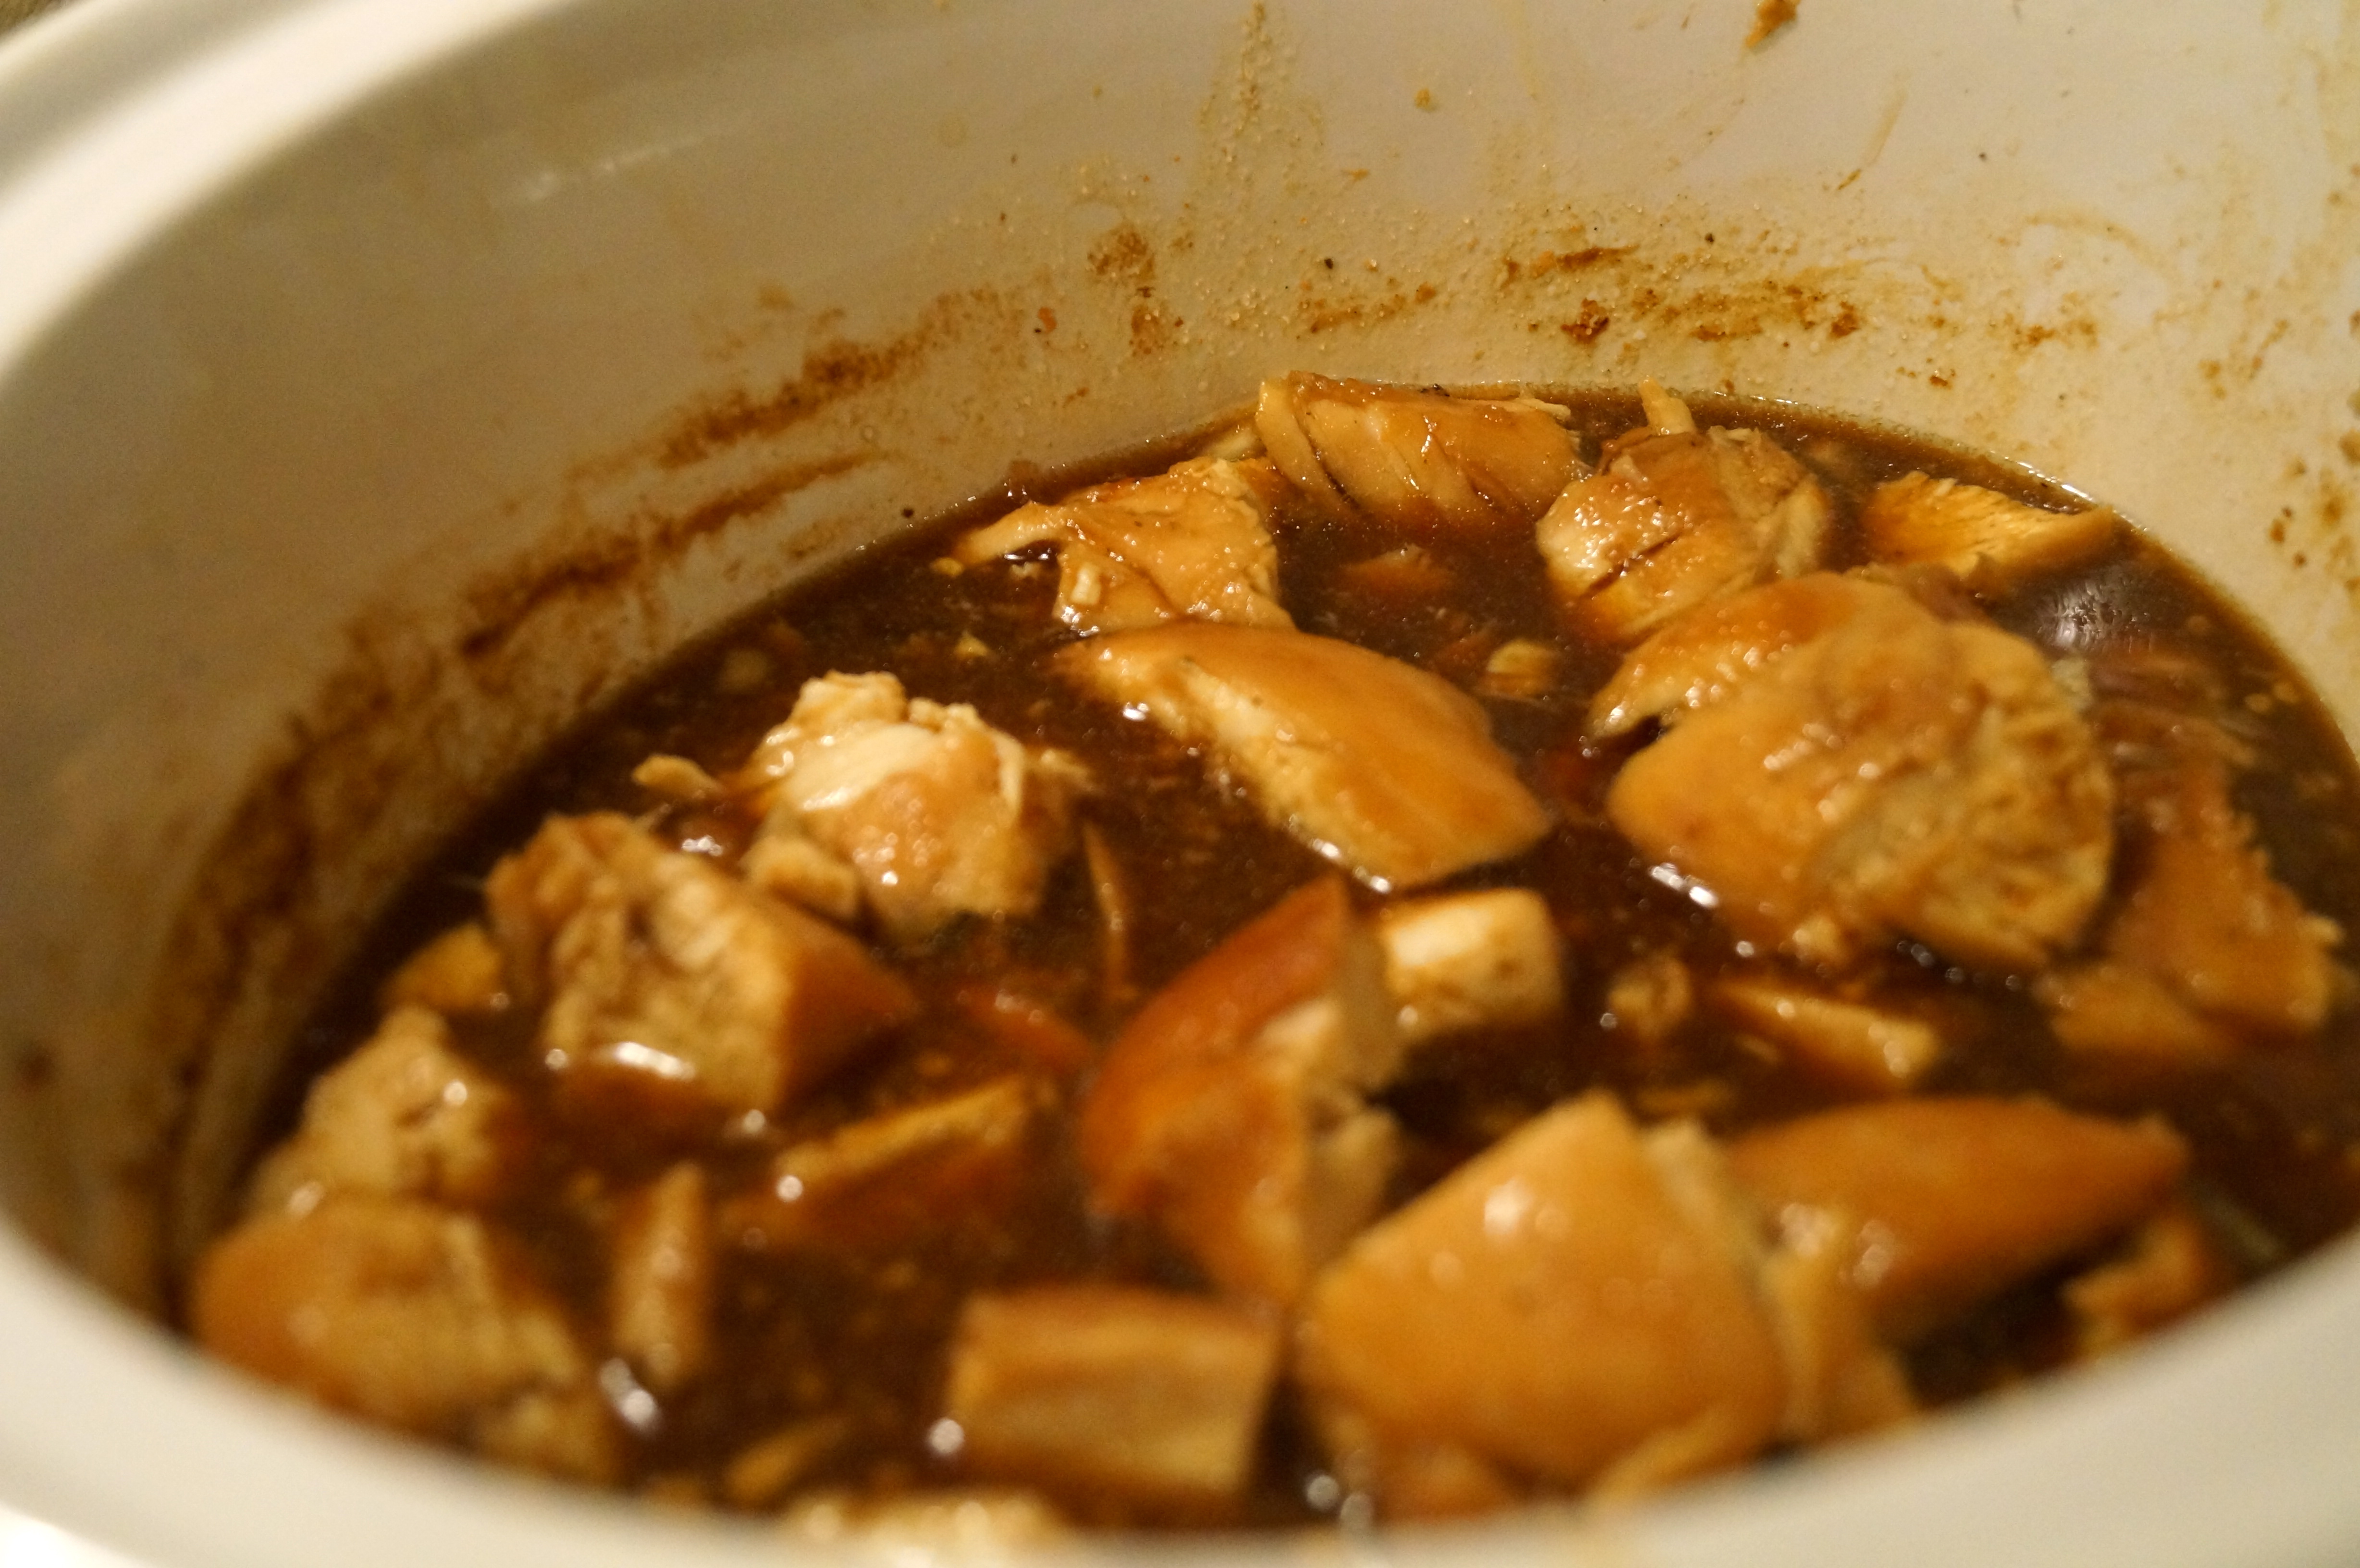
Heat a large skillet over medium heat. Add 1 tablespoon oil to pan, and swirl to coat. Add chicken to pan; cook for 2 minutes on each side or until done. Remove chicken from pan; keep warm.

Combine broth, lemon juice, and cornstarch in a small bowl; stir with a whisk until smooth. Add cornstarch mixture and the remaining 1 teaspoon olive oil to pan; bring to a boil, stirring constantly. Cook for 1 minute or until slightly thickened, stirring constantly.

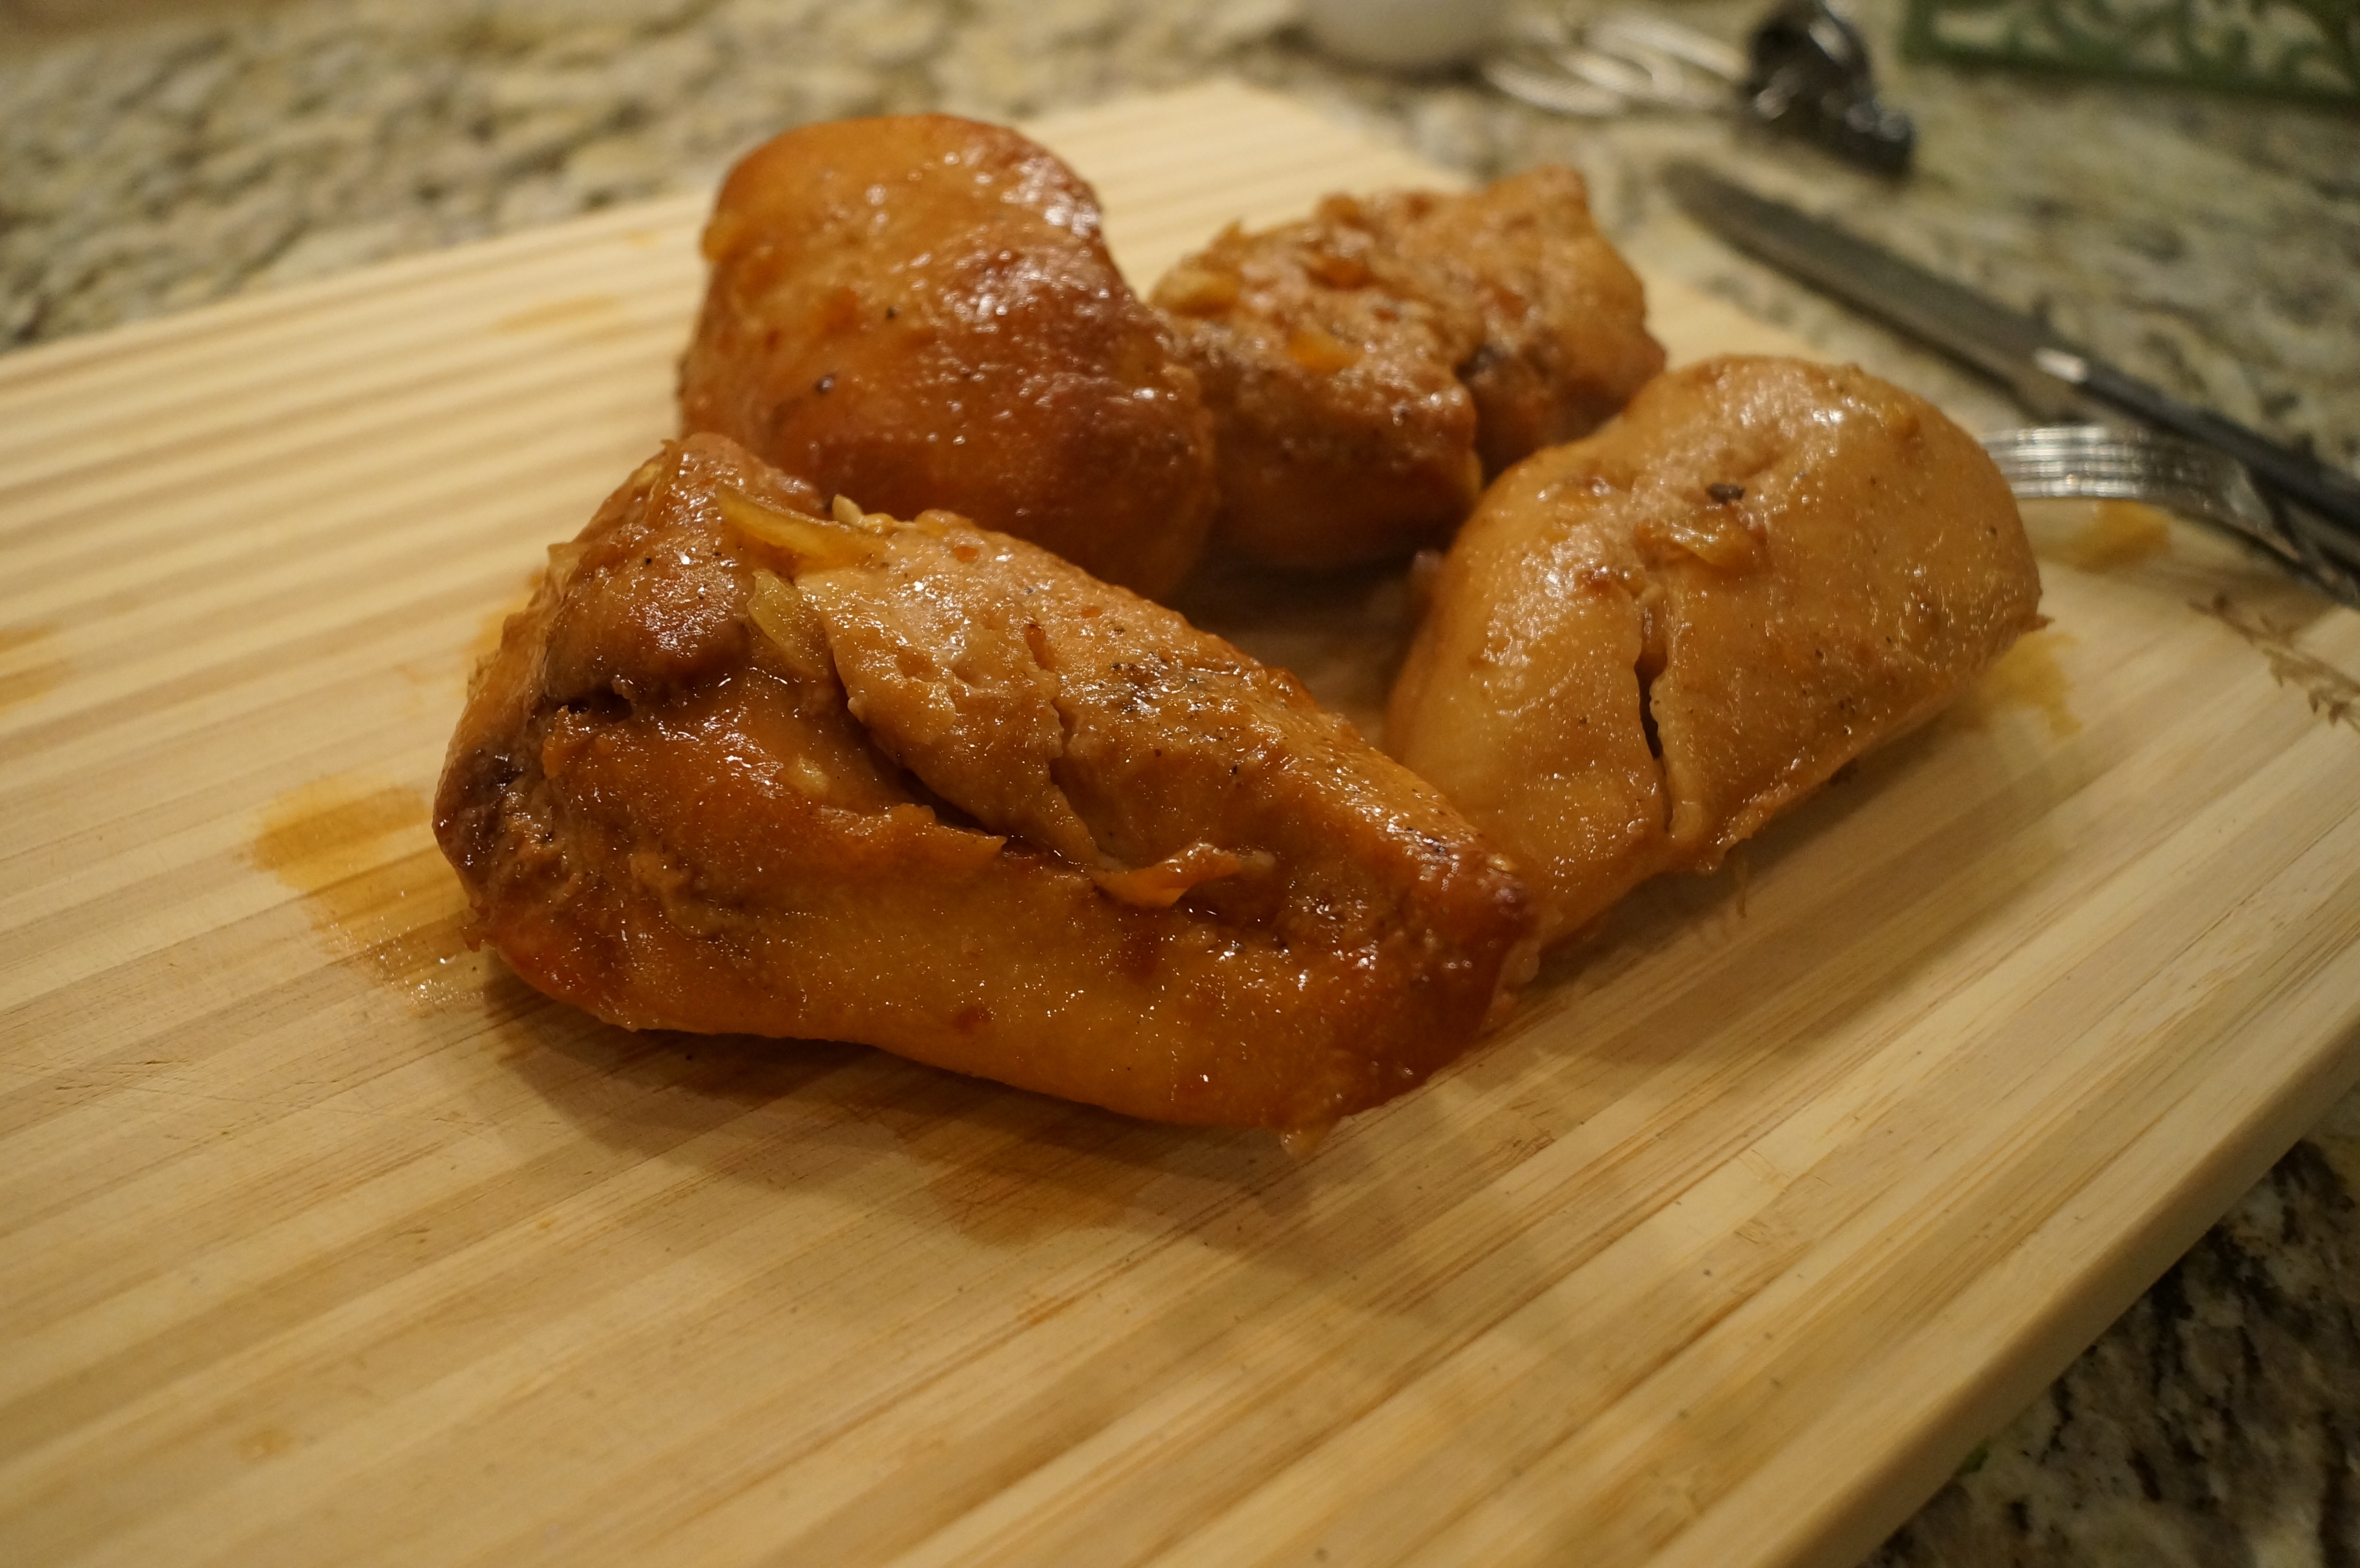
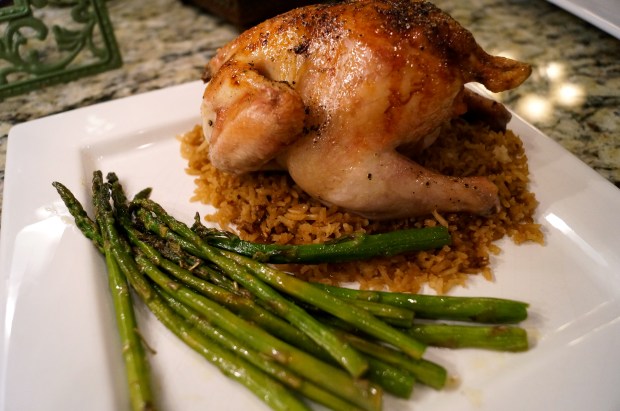
Place chicken on bed of fettuccine and top with sauce.

Chicken Saltimbocca

Love, love, love this dish! It’s simple too!

abp

“Society is like a stew. If you don’t stir it up every once in a while then a layer of scum floats to the top.” ~ Edward Abbey

Even though it is unseasonably warm here for January (right around 70º – which I love by the way) I still have a hankering for a nice warm beef stew.

I know I have made beef stew at some point in my life but I don’t remember how I made it nor do I have a go to recipe for it but after some Pinterest surfing I came across one on the blog Joyously Domestic. It seemed to have all the flavors I liked and it was one that could be cooked in just a couple hours instead of all day. This worked out perfect, since I knew I would not make it to the grocery store until mid-afternoon because of an eye doctor appointment earlier in the day.

BTW – the peepers were in good shape and I have a new pair of very cute glasses on the way. I’ll post a pic when they come in. Maybe now I will not be squinting quite as much!

Ok – on to the stew.

Homemade Beef Stew

  • 2 pounds beef stew meat
  • 2 tablespoons olive oil
  • 1 teaspoon salt
  • ½ teaspoon black pepper
  • 3 – 4 cups beef stock/broth (or water with a few beef bouillon cubes)
  • 2 tablespoon Worcestershire sauce
  • 2 garlic cloves, crushed
  • 1 onion, peeled and sliced
  • 1 – 2 bay leaves
  • 1 tablespoon Crazy Jane’s Seasoning
  • 1 teaspoon sugar
  • ½ teaspoon paprika
  • 1/8 teaspoon cloves or allspice
  • 3 carrots, peeled and sliced
  • 2 ribs celery, chopped
  • 4 potatoes, peeled and cut into small chunks
  • Handful of frozen peas (optional)
  • 2 tablespoons cornstarch (if needed to thicken “gravy”)

Season meat with salt and pepper then sear meat in hot oil on all sides in a dutch oven.

sear meat

Add 3 cups of beef stock, Worcestershire sauce, bay leaves, crazy jane’s, garlic, onion, salt, sugar, pepper, paprika and cloves. Simmer on low for 1.5 hours.

add broth

Check seasoning. Now add in carrots, celery, potatoes and peas. If it seems to need more liquid – add more beef stock.

add veggies

Cook for 30 more minutes or until vegetables are softened. 15 minutes in make a slurry with your cornstarch and a little left over stock and add to stew.

DSC03248

Make a pan of cornbread and you are all set!!

Homemade Beef Stew

Homemade Beef Stew*note: the celery was still a little too crunchy for me so I would cook them with the meat and onions from the beginning.

Happy Monday Y’all!

abp

“Who do you think would win in a fight between a grilled cheese sandwich and a taco?” ~ Andy Samberg

I love Mexican food and I really like making tacos at home – you know, the kind in the cardboard box. Old El Paso, Taco Bell……I usually buy which ever one is “buy one, get one free” at Publix. They do that quite often so I had started to build up a collection in the pantry and I knew I needed to be making tacos soon.

A few days ago, I saw where Lindsay from normalcooking.com had made Oven Tacos and I thought that would be a great way to change up my normal tacos from a box.

So that’s what I did!

Oven Tacos

  • 1 lb lean ground beef
  • 1/2 small onion diced
  • 1/2 small can diced green chilies
  • 3/4 pkg taco seasoning
  • 1/2 (8 ounce) can low sodium tomato sauce
  • 1/2 (16 ounce) can fat free refried beans
  • 1 cup mexican blend cheese
  • 10-12 hard taco shells
  • your favorite taco toppings

Preheat oven to 400°.

Brown meat and onions, drain.

brown meat

Add chilies, seasoning, tomato sauce and beans to meat mixture. Cook until moisture is absorbed. (I accidentally dumped the whole can of tomato sauce and started to stir before I remembered it was suppose to be only half – I scooped some of it back out so mine is a little more tomato-y than it should be. oops.)

mix

Spoon mixture into shells, top with cheese and place (standing up) in a baking dish. (Lindsay commented the shells with the flat bottoms would be great – and they would – but I didn’t have those).

stuff shellstop with cheese

Bake for 8-10 minutes or until cheese is melted and tacos are heated through.

Bake

Top with your favorite taco toppings.

baked tacosbaked tacos

There you have it – a new swing to an old favorite!

abp

“Going to the gym wouldn’t be on my list of favorite things to do.” ~ Kate Moss

After lots of eating out, take out and a few crockpot dinners I decided I might put a little more effort into tonight’s dinner. But not too much, I don’t want to over exert myself considering I already went to the gym today. 😉

Tell me – will it ever not be a chore to go to the gym???

I’m thinking no.

I just don’t get all those people who love working out.

It’s weird. (no offense to my working out friends)

I wish I were weird.

Sorry – back to dinner. So tonight I’m making Baked Shrimp Scampi. Nice and simple.

Baked Shrimp Scampi

  • 1 cup butter
  • 2 tablespoons prepared Dijon-style mustard
  • 2 tablespoon fresh lemon juice
  • 1 tablespoon chopped garlic
  • 1 tablespoon chopped fresh parsley (I used dry because it’s what I had)
  • 1.5 – 2 pounds raw shrimp, shelled and deveined

Preheat oven to 450º.

In a small saucepan over medium heat, combine the butter, mustard, lemon juice, garlic, and parsley. When the butter melts completely, remove from heat.

melt

Arrange shrimp in a shallow baking dish. Pour the butter mixture over the shrimp. Stir to coat.

arrange shrimpstir to coat

Bake for 12 to 15 minutes or until the shrimp are pink and opaque.

bake

Serve over angel hair pasta. Top with parsley and squeeze of fresh lemon juice.

serve with angel hair pasta

DSC03157

Like I said. Nice and easy. Not to mention quite tasty! I very much enjoyed this meal! To make it even better we finished dinner off with an old fashioned Strawberry Shortcake!

Strawberry Shortcake Nothing beats a childhood favorite!

abp

“People who throw kisses are hopelessly lazy.” ~ Bob Hope

I’m not sure if its the weather or if jet-lag from the holidays but I’m feeling pretty lazy. So tonight it’s another crock pot meal.

It’s already smelling yummy!!

That’s one of the great side benefits of cooking with the crock pot – how it makes your whole house smell awesome!

Tonight’s recipe has been adapted from Mmm…Cafe.

Honey Sauced Chicken

  • 1.5 – 2 pounds boneless skinless chicken breasts
  • salt
  • black pepper
  • 3/4 cup honey
  • 1/2 cup soy sauce
  • 1/4 cup chopped onion
  • 3 tablespoons of ketchup
  • 1 ½ Tbs. vegetable oil
  • 2 clove garlic, minced
  • ¼ to ½ tsp. red pepper flakes (depends on heat desired)
Salt and Pepper chicken and place in slow cooker.
salt and pepper chicken
In a medium bowl mix together the rest of the ingredients.
mix ingredients
mixuter
Pour over chicken, stir to coat. Bake on low for 4 hours or high for 2 hours.
stir to coat
With 30 minutes left to cook, carefully remove chicken from sauce, cut into bite size pieces.
cut up chicken DSC03113
Return to sauce, mix well and continue to cook.
return to sauce
Serve over rice.
serve over rice
This was a very good meal and one of the more simple I have found. So much so, even though I was feeling lazy, I decided to whip up Chocolate Peanut Butter Truffles!
More on those later.
Happy Rainy Monday!!!
abp

“A champion needs a motivation above and beyond winning.” ~ Pat Riley

It’s a good day to be an Alabama fan! Whoot, Whoot! Rooooolllll Tide!

BACK to BACK championships! The 3rd in 4 years! And being the wife of an Auburn fan, I must add it is the 4th in a row for the state of Alabama with AU taking the other of the four.

We are the football state if you ask me.

But I am pooped – I was up way past my bedtime watching that game. So tonight is an easy dinner night, which usually means a crockpot dinner. And tonight that crockpot dinner is a very flavorful pork roast I found on allrecipes.com.

Yummo Pork Roast

  • 1 (2 pound) pork roast
  • 1 (1 ounce) envelope dry onion soup mix
  • 1 cup water
  • 3/4 cup beef stock
  • 3 tablespoons soy sauce
  • black pepper to taste
  • 2 tablespoons minced garlic

Place pork roast in slow cooker and top with onion soup and water.

Add in beef stock and soy sauce. Mix well and turn to coat.

DSC02968 DSC02973

Top with minced garlic. Spread over top of roast.

DSC02976 DSC02977

Cook on high for 5 hours. (about 4 hours in start basting a little with the sauce and with with about 10 minutes left flip and mix in the garlic)

DSC02981

Remove roast from cooker. Slice pork and serve with sauce.

DSC02986DSC02988

I served it with refrigerated mashed pototoes (I like Bob Evans) and a bagged salad.

DSC02984

Doesn’t get much easier than that!

Roll Tide.

abp

“Be always at war with your vices, at peace with your neighbors, and let each New Year find you a better man.” ~ Benjamin Franklin

Happy New Year Everyone!!!

Whew, what a year it has been!

Oh! have I ever enjoyed the holidays! So much so that is why I sit here working on my blog at 9:00 p.m. on New Years Eve. I am exhausted. I have had 3 dinners for 6-10 people in the past month and am preparing for 2 parties at my house in the next 10 days. Because of this I have spent the last two days ridding my house of all things Christmas, along with trying to get this place back into an organized state.

That is why at 8:00 tonight I was already in my pj’s cleaning out the pantry.

I am ONE WILD WOMAN.

3 years ago I could not have even imagined such a New Years Eve but tonight I am very happy. And very blessed.

You would think with all the entertaining I have been doing I would have had lots to blog about – I did – but I was lucky just to get it all cooked and on the table. There was no time to take pictures and even less time to get them uploaded.

But tonight I did cook and actually had time to take a few pictures so hopefully this will get me back in the swing of things.

It was also my very first time to prepare Cornish Hens.  All in all they turned out very well considering I made a blunder that I did not even notice until we started to eat. 🙂

That I will explain later.

Cornish Hens

  • 4 Cornish Hens
  • 6 Tablespoons melted butter, divided
  • ¼ cup beef consomme
  • ¼ cup light corn syrup
  • salt and pepper

Preheat oven to 375°. Prepare roasting pan with a rack sprayed with cooking spray. Rinse hens and pat dry. Place breast side up on rack. Brush with 2 tablespoons melted butter and season with salt and pepper. (Ok, this is where I messed up – I thought I had them breast side up but I did not – so yours should be flipped upside down compared to these pictures.)

DSC02858

Mix together remaining butter, consomme and corn syrup.

DSC02863

Roast hens for 30 minutes. Baste with mixture.

DSC02873

Roast for 15 more minutes. Baste with mixture.

Roast for 10 more minutes. Baste with mixture.

Roast for 10 more minutes. Baste with mixture.

Roast for 5 more minutes.

Remove from oven and serve on a bed of seasoned rice and your choice of green vegetable.

DSC02875

DSC02878

DSC02886Very easy but makes a very nice presentation.

I hope everyone has a very safe and happy new year!!!!

abp

“Man is not truly one, but two.” ~ Robert Louis Stevenson

I think I have a split personality.  I love the opposite ends of every spectrum. I’ll go all out with Christmas decorations but love that single candle in the window. I adore a black tie affair but cherish my no make-up Mondays. I’ll spend $$$$ (I’m ashamed to say) on a purse but will buy a $5 pair of shoes at a thrift store and love them both equally. The list goes on……..

I’m having a cat scan on my head next week – it will be interesting to see what’s up there.

The same goes with food – my Thanksgiving Turkey this week is going to be a royal, time consuming affair and I’m going to love it. But last night I made a quick and easy baked ziti recipe that I found on the back of the zita pasta box.

It’s my new go to meal.

Back of the Box Baked Ziti

  • 1 (16 oz) package of ziti
  • 1 lb ground beef
  • 1 cup chopped onion
  • 1 (4 oz) can diced green chiles
  • 1 (26 oz) jar tomato and basil pasta sauce
  • 1 (14.5 oz) can stewed tomatoes, undrained
  • 1 tablespoon Italian seasoning
  • 1/2 tablespoon prepared basil pesto
  • cooking spray
  • 2 cups Italian blend cheese, shredded

Preheat oven to 375º.

Start by cooking pasta according to directions.

Saute meat and onions in large skillet over medium-high heat. Once cooked, drain off excess grease.

Stir in pasta sauce, tomatoes (I squished these a little with my hand first), Italian seasoning, and pesto into meat mixture. Reduce heat and simmer for 5-10 minutes, stirring occasionally.

Mix sauce with pasta.

Spray 9 x 13 inch baking dish with cooking spray and pour mixture evenly into dish.

Top with cheese.

Bake for 15 minutes or until heated through and slightly browned.

yummo!

Let countdown to Thanksgiving begin!!!!

abp

“I can spend hours in a grocery store. I get so excited when I see food, I go crazy.” ~ Cameron Diaz

As you know – this girl loves her some pasta! Give me good ol’ spaghetti or lasagna any night!! But since our trip to Italy, I have been wanting to try more authentic Italian dishes.  One recipe that I ran across on Pinterest fit the bill and is actually very simple.  I probably would have never tried this recipe because Italian sausage is not my favorite but……….

One Saturday (not my typical shopping day – waaaaay too crowded) I took the DH to the grocery store with me and they had the samples set up – so off he goes to “sample”  – he comes back with a coupon and a pack of a new kind of Italian sausage – we have to get this he says. (I wish I had kept the packaging to tell you the name – because it was really good!).

Well, ever since then that pack of sausage had just been sitting in the freezer so I started looking for a recipe to use it in – and it didn’t take me long to find this one.

Italian Sausage and Tomato Pasta

(adapted from Avocado Pesto)

  • 12 ounces Italian sausage, halved or quarter and thinly sliced
  • ½ small onion, diced
  • 3 cloves garlic, diced
  • 1 pint cherry tomatoes, halved
  • ¼-1/2 cup heavy cream
  • 2 scallions, sliced
  • 8 ounces pasta (I used linguine)

Start by preparing pasta, according to directions.

Next sauté sausage over medium-high heat until brown and a little crispy.

Add onions and cook until tender (I had to add a little olive oil because there was not enough fat from the sausage). Then add garlic and cook for about a minute.

Toss in cherry tomatoes and cook for around 5 minutes or until juices start to flow.

Reduce heat to low, add cream and simmer for 3-4 minutes.

Serve over pasta and garnish with the scallions.

Very authentic and very simple!

I’m so glad the DH stumbled upon the sausage and insisted we get some – I will be making again!

abp

“Success usually comes to those who are too busy to be looking for it.” ~ Henry David Thoreau

What a week!!

There is so much going on and it’s not even officially the holiday season!

The past six months just seem like a blur to me – 4 major events – our wedding, the reception a couple months later, our honeymoon to Italy and my surgery. Thrown into that were football season (tailgating), getting a new house in shape and my new blog ( 🙂 )

Don’t get me wrong! I have loved every minute of it! Well, except the surgery, although I did enjoy the time off from work – that was awesome!. It’s just everything is going so so fast! I can’t believe Thanksgiving is 2 weeks away!! And it will be my first officially Thanksgiving in my new house! YAY!

ohmygoodness, ohmygoodness, ohmygoodness!!!

Starting then I’m pretty sure we will be having all kinds of traditional holidays foods for the next several weeks but this week and next weekI’m sticking to the normal everyday things I like to make.

You know I LOVE pasta and you know I LOVE Mexican food. So why not combine them??

When I came across this recipe on Pinterest – I knew I must try it!

Chicken Taco Pasta (adapted from Bev Cooks)

Serves 4-6

  • 1 pound ground chicken
  • 1/2 medium red onion, finely chopped
  • 3 cloves garlic, minced
  • 3 Tbs. favorite taco seasoning
  • 1 (14.5 oz) can drained and rinsed kidney beans (or black)
  • 1 (4 oz) can diced green chiles
  • 1 can corn, drained
  • 1 roma tomato, diced
  • 2 cups pasta shells
  • 4 oz (half a block) cream cheese
  • 2 Tbs. greek yogurt
  • 1/2 cup freshly chopped cilantro
  • coarse salt and pepper

(FYI – the pictures below are a double recipe)

Start by putting pasta onto cook according to directions. Reserving 1/3 cup pasta water.

Brown your chicken over medium-high heat. (I must admit, I’m not really a fan of what ground chicken looks like while it’s cooking)

Add onion, garlic and taco seasoning. Cook for 5 minutes.

Next add corn, beans, green chilies and salt/pepper to taste. Cook another 5 minutes.

Add diced tomatoes and toss to combine.

Stir in cream cheese and yogurt.

Combine meat mixture with shells. Add pastas water bit by bit if it is to thick.

Serve with plenty of fresh cilantro.

This recipe was very filling and had great flavor but I must warn you – wear your chopping gloves because there’s a whole lot a choppin’ going on!

I can tell you – my wrist wanted to revolt against me.

But it was worth it. 🙂

abp